Naming Pools Page#
Naming pools are used to support multiple name groupings within the ICE ClusterWare ™ platform. Naming pools are useful in complex clusters where you want to identify compute nodes or switches based on core capabilities. Primary naming pools for compute nodes can be associated with node attribute groups. Secondary naming pools are used for configuring DNS resolution for additional interfaces on compute nodes. For details, see Node Names and Pools.
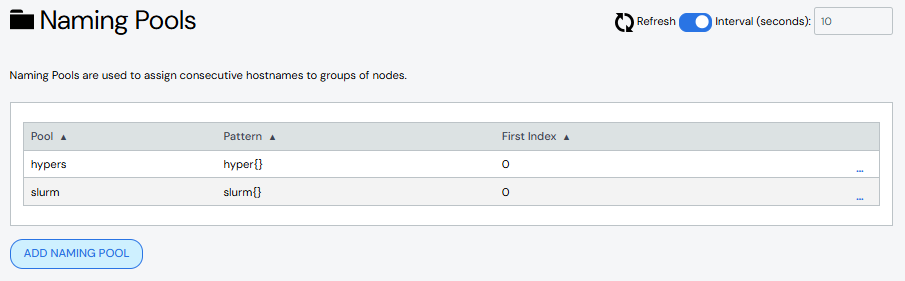
Use the Naming Pools page to create and manage primary and secondary naming pools. The page is available via Nodes > Naming Pools in the left navigation panel.
Create Naming Pool#
To create a primary naming pool:
Click Add New Primary Pool.
Add details about the primary naming pool.
Name: Required. Names must start with an alphabet character, not a number.
Description: Optional.
Pattern: Optional.
First Index: Optional.
Group: Optional. Select an existing node attribute group from the list.
Network: Optional.
IP Offset: Optional.
Click Save.
The new naming pool appears in the Primary Naming Pool list.
To create a secondary naming pool:
Click Add New Secondary Pool.
Add details about the secondary naming pool.
Name: Required. Names must start with an alphabet character, not a number.
Description: Optional.
Pattern: Optional.
First Index: Optional.
Parent Group: Required. Select a parent group from the list of available groups.
IP Base: Optional.
Network: Optional.
Offset: Optional.
Click Save.
The new naming pool appears in the Secondary Naming Pool list.
Edit Naming Pool#
To edit a naming pool:
Click the naming pool name to open the naming pool details, then click Edit Naming Pool. Alternatively, click the More menu
 on
the far right of the row and select the Edit action.
on
the far right of the row and select the Edit action.The Edit Naming Pool pane populates with the naming pool details.
Make updates to the naming pool.
Click Save to modify the naming pool.
Clone Naming Pool#
Cloning a naming pool creates a copy of an existing naming pool with a new name and the same attributes. To clone a naming pool:
Click the More menu
on the far right of the row and select the
Clone action. The Clone Naming Pool from window opens with the
existing naming pool's name pre-populated in the From Naming Pool
field.Enter a name for the new naming pool in the To Naming Pool field.
Click Clone to create the new naming pool.
(Optional) Edit the new naming pool to change attributes.
Delete Naming Pool#
To delete a naming pool, click the More menu ![]() on the far right of the
row and select the Delete action.
on the far right of the
row and select the Delete action.
Change Default Naming Pattern#
If no other naming pool is associated with a node, the default naming pattern is
used. At system installation time, the default naming pattern is n{}. Use
the Default naming pattern field at the top of the page to update the
cluster settings with a different default naming pattern.