Switches Page#
Ethernet network switches are used to connect compute nodes, head nodes, and other cluster systems like storage in a ClusterWareAI ™ cluster.
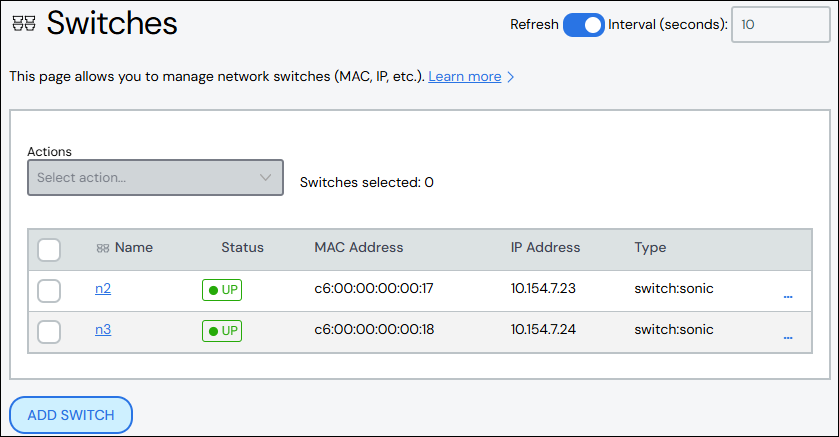
Use the Switches page to create and manage switches. The page is available via Network > Switches in the left navigation panel.
Create Switch#
To create a switch:
Click Add Switch.
Add details about the switch.
Description: Optional.
MAC Address: Required.
IP Address: Optional.
Type: Select a switch type from the drop-down list. If unset, defaults to Sonic.
Naming Pool: Optional. Specify an existing naming pool. If unset, uses the default naming pool. See Switch Naming Pools for details.
Groups: Optional. Specify an existing attribute group. All switches are added to the DefaultAttribs attribute group. See Attribute Groups for details.
Attributes: Optional. Specify switch-specific attributes in
name = valueformat.
Click Save. The new switch appears in the list at the top of the page.
[Optional] Install the
clusterware-nodepackage on the switch using the same pre-installer script you would use on a compute node. See Support for Diskful Nodes for details.
Note
If you have a multi-tenant cluster, additional Sonic switch configuration is required. See Configure Multi-Tenancy Ethernet Network and Configure Multi-Tenant Switches for details.
Edit Switch#
To edit a switch:
Click the switch name to open switch details, then click Edit Switch. Alternatively, click the More menu
 on the far right of the row
and select the Edit action.
on the far right of the row
and select the Edit action.The Edit Switch panel populates with the switch's details.
Make updates to the switch.
Click Save to modify the switch.
Switch Power Actions#
You can reboot or shut down a switch using the More menu ![]() on the far
right of the row. To reboot or shut down multiple switches, select the switches
in the table and use the Reboot or Shutdown action from the Actions
menu above the table.
on the far
right of the row. To reboot or shut down multiple switches, select the switches
in the table and use the Reboot or Shutdown action from the Actions
menu above the table.
Join/Leave Group#
Switches can be added to or removed from Attribute Groups. You can only add
switches to or remove them from one attribute group at a time. The
Join Group and Leave Group actions are available from the More menu
![]() on the far right of the table row or from the Actions menu above
the table. In the window that appears, select the name of the attribute group
you want to add the switch(es) to or remove the switch(es) from.
on the far right of the table row or from the Actions menu above
the table. In the window that appears, select the name of the attribute group
you want to add the switch(es) to or remove the switch(es) from.
Delete Switch#
To delete a switch, click the More menu ![]() on the far right of the
row and select the Delete action. To delete multiple switches, select the
switches in the table and use the Delete action from the Actions menu
above the table.
on the far right of the
row and select the Delete action. To delete multiple switches, select the
switches in the table and use the Delete action from the Actions menu
above the table.