Networks Page#
If your cluster has multiple networks, the ICE ClusterWare ™ platform initially creates a network record for only the network that was used during installation. You can add other networks to manage DHCP/DNS entries on ClusterWare nodes for those networks as well.
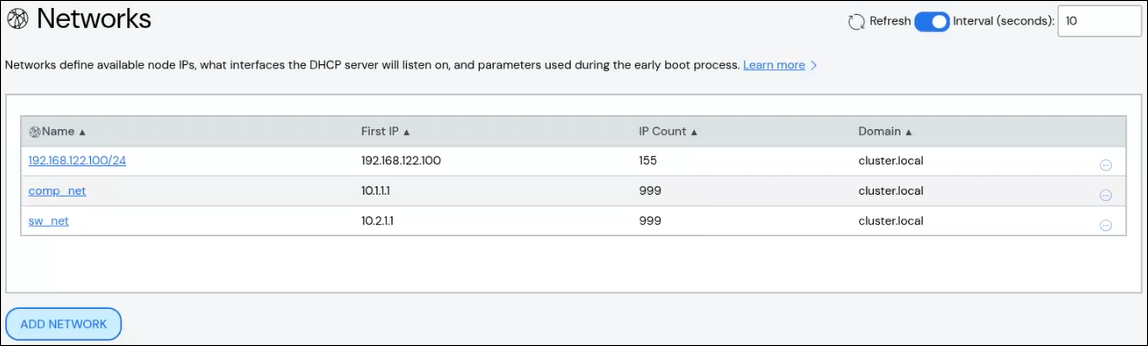
Use the Networks page to define available node IPs, what interfaces the DHCP server listens on, and parameters used during the early compute node boot process. The page is available via Network > Networks in the left navigation panel.
Create a Network#
To create a network:
Click Add Network.
Add details about the network.
Name: Required. Names must start with an alphabet character, not a number.
Description: Optional.
First IP: Required.
Mask Bits: Required.
IP Count: Required.
First Index: Optional.
Domain: Optional.
Router IP: Optional.
Gateway IP: Optional.
Node Interface: Optional.
Click Add Network to save your changes.
The new network appears in the list at the top of the page.
Edit Network#
To edit a network:
Click the network name to open the network detail panel, then click Edit Network. Alternatively, click the More menu
 on the far right
of the row and select the Edit action.
on the far right
of the row and select the Edit action.The Edit Network panel populates with the network details.
Make updates to the network.
Click Save to modify the network.
Delete Network#
To delete a network, click the More menu ![]() on the far right of the
row and select the Delete action.
on the far right of the
row and select the Delete action.